Welcome to Ledger.com/start – your gateway to securely managing your crypto assets with Ledger. Whether you're a beginner in the world of cryptocurrencies or a seasoned investor, this guide will walk you through everything you need to know to set up and use your Ledger device safely and efficiently.
Ledger is a hardware wallet brand that provides secure devices to manage cryptocurrencies and digital assets. Unlike software wallets, Ledger devices store your private keys offline, protecting them from online threats such as malware or phishing attacks. Ledger currently offers two main models: the Ledger Nano S Plus and the Ledger Nano X. Both devices allow you to securely store, send, and receive a wide variety of cryptocurrencies, including Bitcoin, Ethereum, and hundreds of others.
Before setting up your Ledger device, make sure you have the following:
Your recovery phrase is the only way to recover your crypto if your device is lost, stolen, or damaged. Never share it with anyone and never store it digitally.
Open the packaging and confirm the contents. You should find:
Check the device for any signs of tampering. Ledger devices are shipped without a pre-set PIN code or recovery phrase. If your device appears used or comes with a recovery phrase already provided, do not use it.
To begin setup, open a browser and go to ledger.com/start. This official page ensures you're downloading authentic software and accessing verified resources. Follow the on-screen prompts to download and install Ledger Live, the official Ledger application.
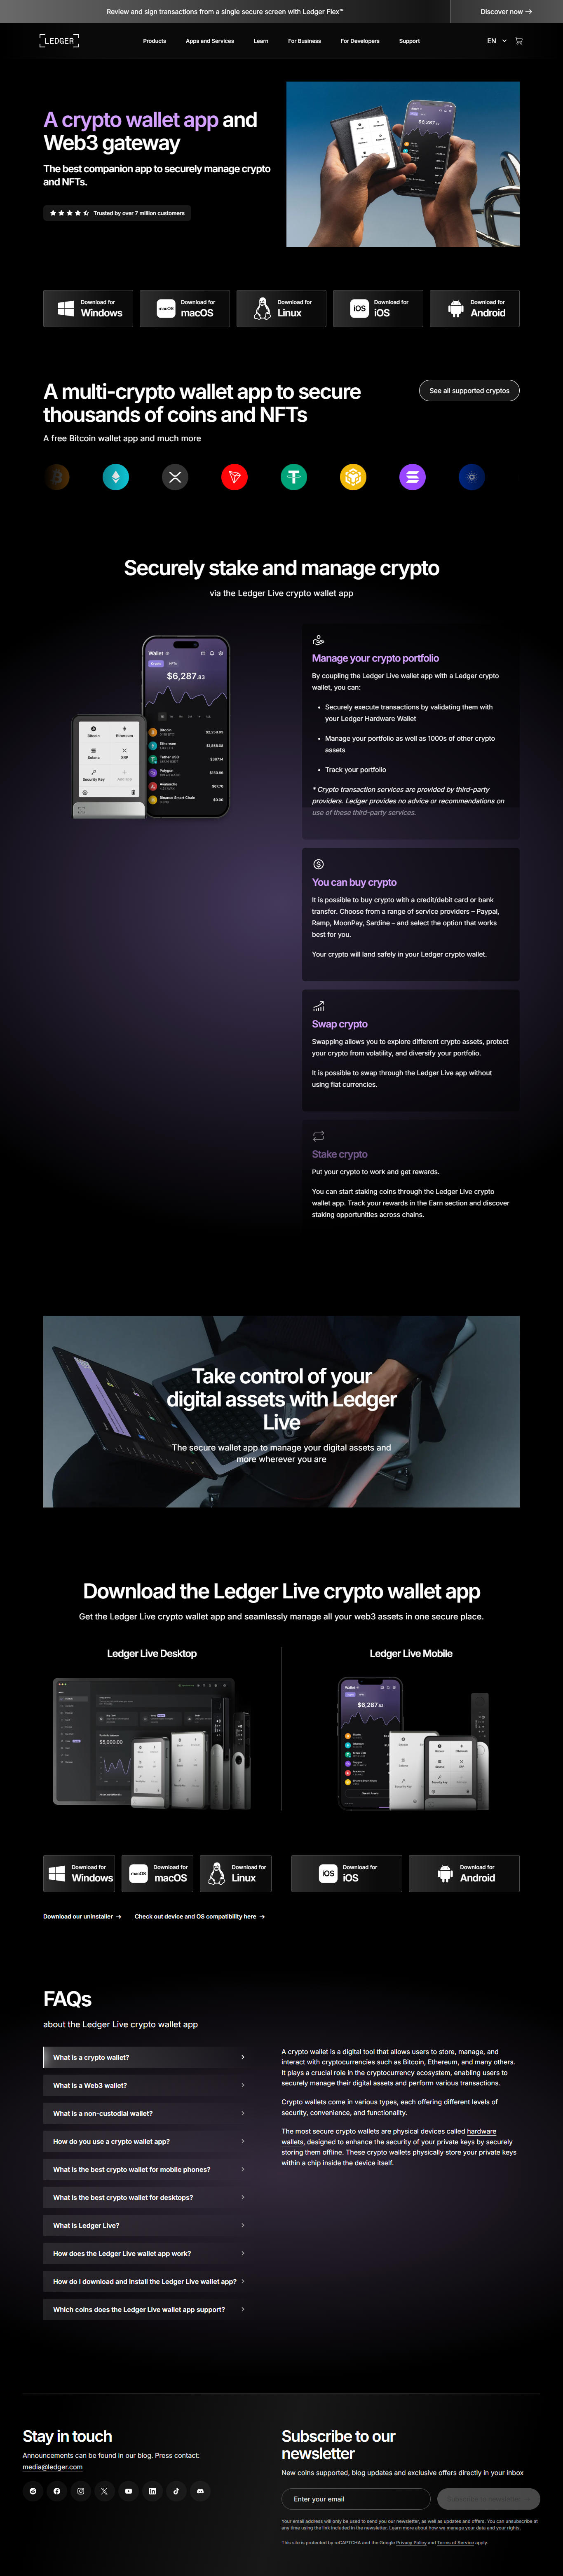
Ledger Live is the software interface used to manage your Ledger device, install apps, check your portfolio, and send or receive crypto. It's available for Windows, macOS, Linux, Android, and iOS.
Download Ledger Live for your operating system from the official website. After installation:
Make sure your internet connection is stable and that you are not on a public or unsecured network during this process.
Plug in your device using the USB cable. You will be prompted to:
Ledger will ask you to confirm a few of the words to ensure you wrote them down correctly. Store the recovery phrase in a secure, offline location. Do not take a photo of it or store it on your phone or computer.
After setup, Ledger Live will run a genuine check to verify your device is authentic and not tampered with. This is an important security measure. Follow the on-screen prompts in Ledger Live to complete this process.
Once verified, you’ll have access to your Ledger Live dashboard.
Now that your device is set up, you can install apps for the cryptocurrencies you want to manage. Each blockchain (e.g., Bitcoin, Ethereum, Solana) requires its own app to be installed on your Ledger device.
To install apps:
Once installed, go to the Accounts section in Ledger Live to add crypto accounts. These accounts let you view balances, send/receive crypto, and manage assets.
To receive crypto:
Always verify the address shown on Ledger Live matches the one displayed on your Ledger device. This prevents address spoofing by malicious software.
To send crypto:
Your device will show the transaction amount and destination address for final approval.
Regular updates enhance security and improve compatibility with new crypto protocols. To update:
Follow the instructions carefully, and never disconnect your device during an update.
If you encounter issues during setup or use:
Avoid third-party websites or fake customer support services that ask for your recovery phrase.
Setting up your Ledger device through ledger.com/start is a straightforward but essential step to securing your digital assets. By following these instructions carefully and keeping your recovery phrase safe, you gain control over your crypto in one of the most secure ways possible.
Remember: your crypto is only as safe as your private keys. With Ledger, those keys are yours—and only yours.